What is Sufio?
Sufio is an app which you can implement in your Shopify account. With Sufio, you can create professional invoices for your online store.
When you set up Sufio the right way, it works automatically. You can edit invoices with your own logo and text and Sufio will put your customer's business information on the invoice and send it to them automatically.
Why should you use Sufio in Shopify?
- Shopify doesn't automatically generate invoices with VAT numbers when customers purchase your products.
- Sufio works automatically.
- Your invoices look professional.
- You can customize your invoices with your own brand identity.
How do I install Sufio in my Shopify?
You have to program a little bit, but don’t worry! I‘ll guide you through all the steps you need to take.
STEP 1: Make sure you’ve set up your Shopify webshop and install the Sufio app.
Use this link to get a free trial: www.fastforwardamy.com/shopify
Note: This article contains affiliate links. I might receive a commission when you buy anything through one of these links!
Do you want to know how to set up your webshop in Shopify? Click here to read my article ‘How to set up a Shopify webshop.’
Once you have your webshop, you can install the Sufio app.
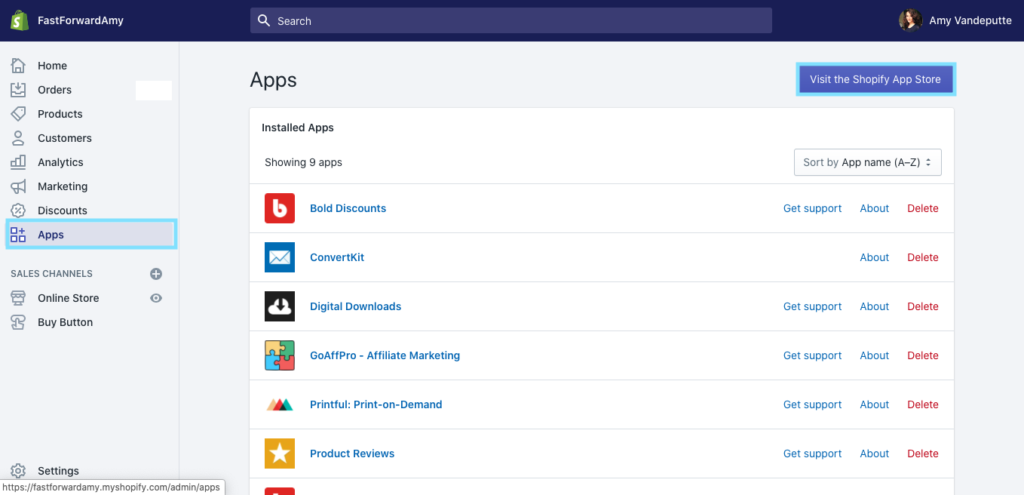
- Go to ‘Apps’ in your Shopify account.
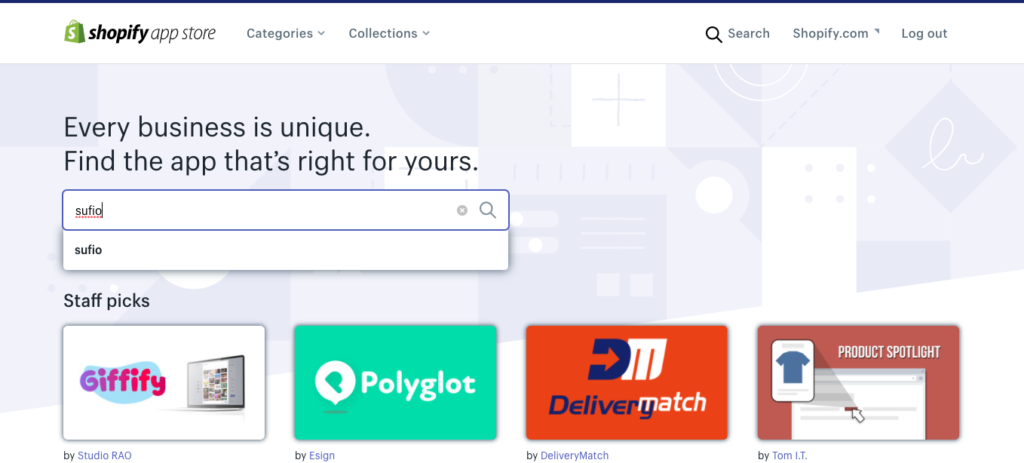
- Click on ‘Visit the Shopify app store’ and type in ‘Sufio’ in the search bar.
- Click on the Sufio app and install.
STEP 2: Link Sufio with your Shopify account.
Here comes the part where you have to change the code in your store a little bit.You have to capture VAT numbers on the Cart Page to make sure your customers leave VAT numbers so Sufio can put the VAT numbers on the invoices.
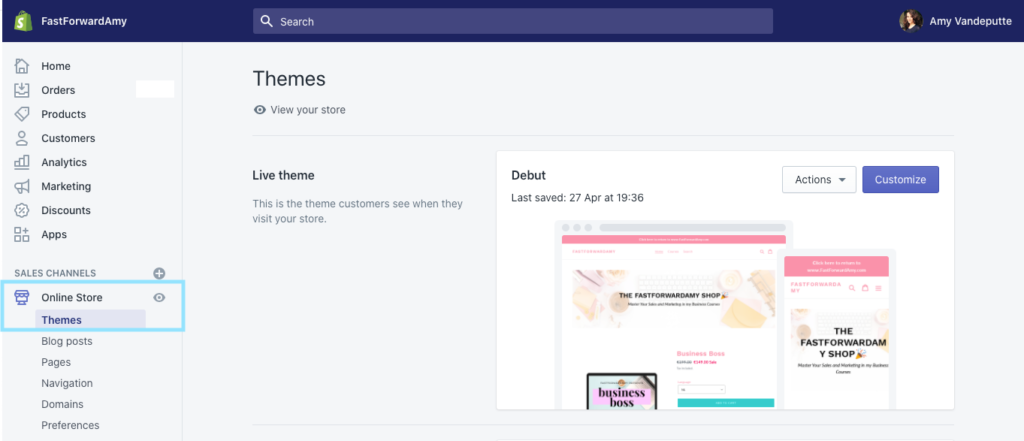
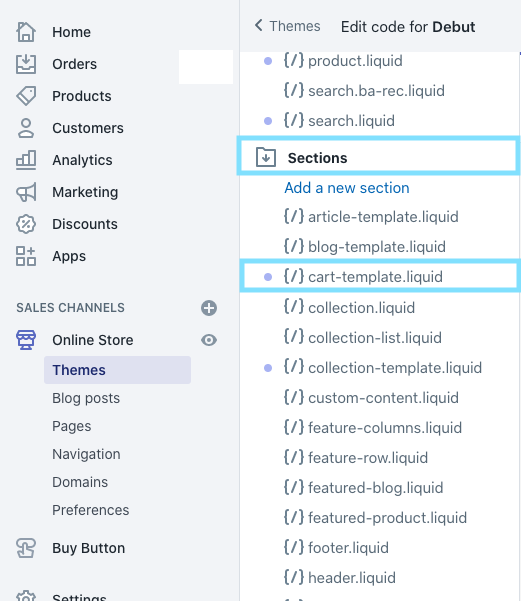
- Go to your Shopify account and click on ‘Online Store’ and then ‘Themes’.
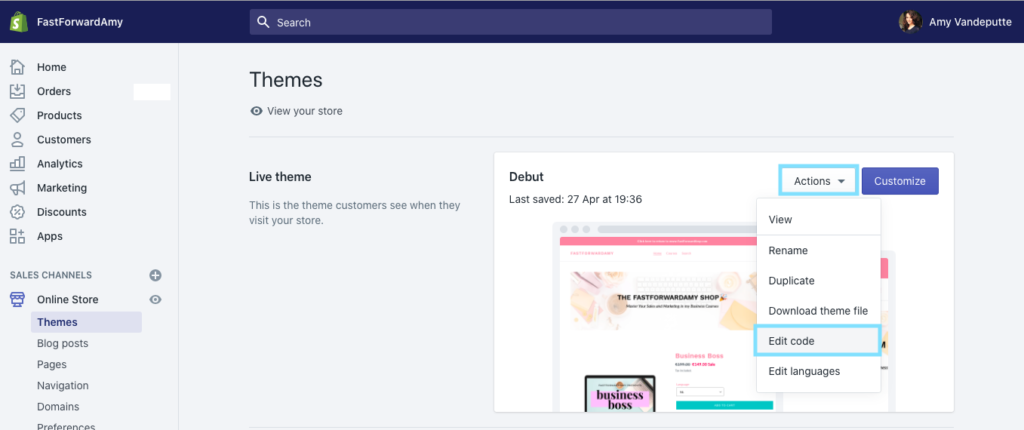
- Click on ‘Actions’ and ‘Edit Code’.
- Click on ‘Cart-Template.liquid’. (or on card.liquid if this doesn’t work, but let’s try Cart-Template.liquid first)
- Copy the whole code in a note of another document to backup the code (in case you do something wrong, this way you will still have the original)
- Copy the code you can download below and past it before the checkout button.
Click the button below to download the code.
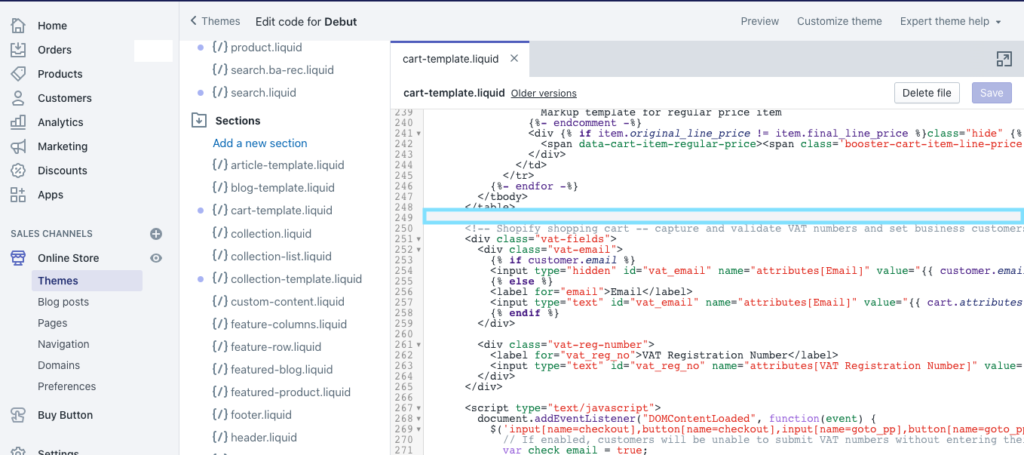
- Click on ‘Save’ and preview the check out page of your webshop.
- In case you don’t like the place where the VAT fields are placed, your can move the code to change the place. If you want to center the fields you can add <center> at the beginning of the code and </center> at the end of the code.
STEP 3: Choose the right settings in Sufio
- Go back to your Shopify dashboard and click on ‘Apps’ and then ‘Sufio’.
- Click on ‘Settings’ and ‘Company Profile’ to fill in all the information of your business.This will be visible on your invoices.
- Click ‘Invoice Settings’ to change payment methods and the due date.
- Click on ‘Design’ to upload your logo and choose the layout you want for your invoices.
- Click on ‘Taxes’ to add tax rates.
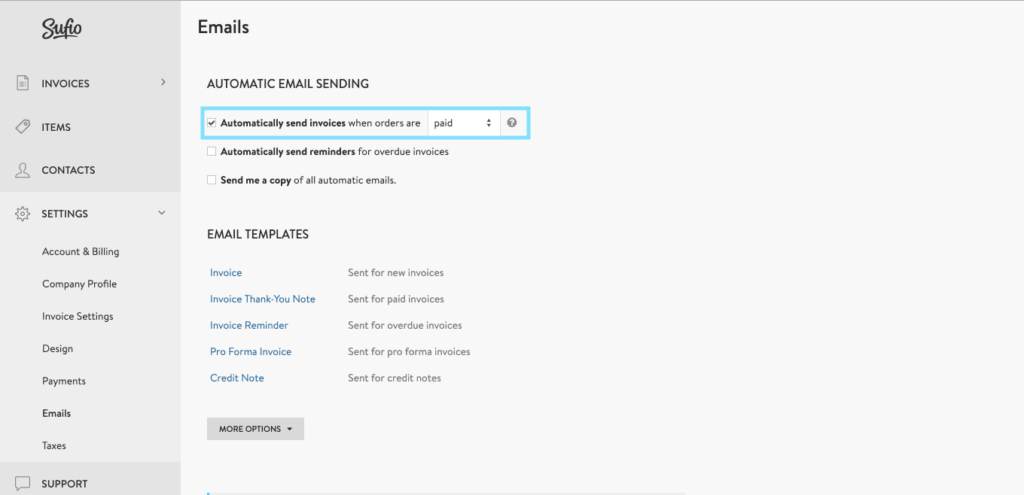
- Click on ‘emails’ and check the box ‘Automatically send invoices when orders are PAID’.
Congrats!
You are totally ready to sell your orders in Shopify with automated invoices with VAT numbers!


Leave a Reply