Teachable is a fantastic course platform. Currently it competes mainly with Kajabi and Thinkific. The main reason I use it is because of the cost (zero dollar when you start), the usability and the possibility to expand when it is useful for you. It is very easy to set up! Before you know it, you have created your first online course and you can start selling.
In this article I'll teach you the steps you need to take to set up your account and successfully create your first course – ready for sale!
Are you ready to start? Make sure you create an account through www.fastforwardamy.com/teachable to get started for free.
I only recommend software I personally use. I might receive a commission when you buy anything through this link.
STEP 1: Set up your Teachable account.
- Go to www.fastforwardamy.com/teachable
- Click on ‘Get started now’.

- Click on ‘Compare plans’ and choose the very first formula.

- Enter your details and create a password.
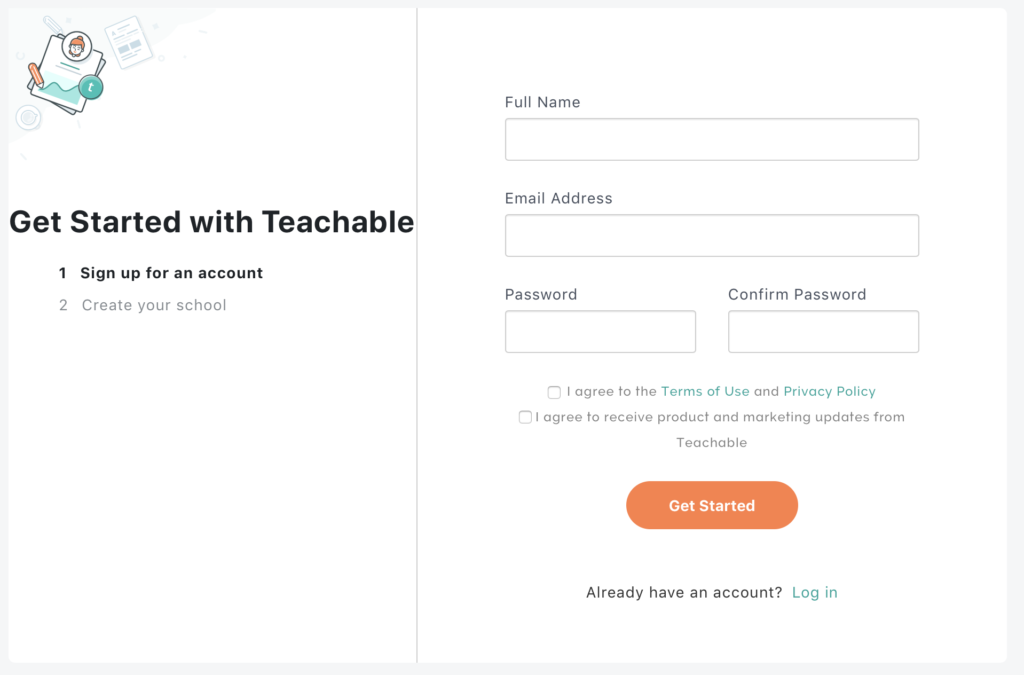
- Click on ‘Get Started’.
STEP 2: Create a new school in Teachable.
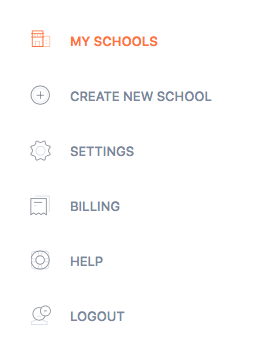
- Click on “Create new school” on the left.
- Give your school a name.
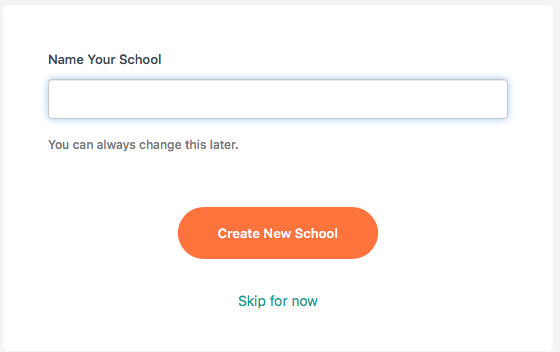
- Click on “Create new school“.
STEP 3: Create a new course in Teachable.
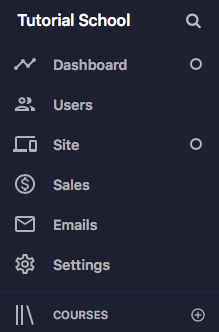
- Click on the left side of the navigation bar on ‘Courses’ and then on ‘New Course’ on the right.

- Enter the details of the course.
- Name of course: give a name to your course
- Bio of creator: create a bio that will be shown on the home page about the creator of the course or choose an existing bio via the dropdown
- Subtitle of course (use an imperative, for example “Earn twice as much”): give a subtitle to your course, preferably as short as possible
- Add a thumbnail. You can create this in Canva. The best format to use is 960x540px. Download this in png or jpg from Canva and upload it here in Teachable.
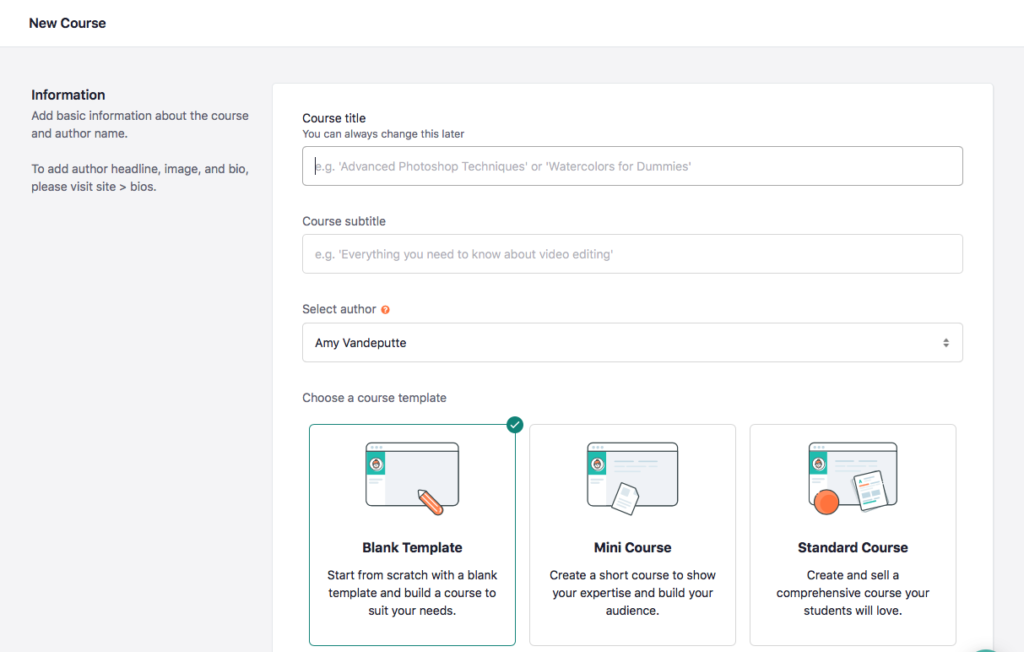
- Click on “create course“.
STEP 4: Create a new curriculum.
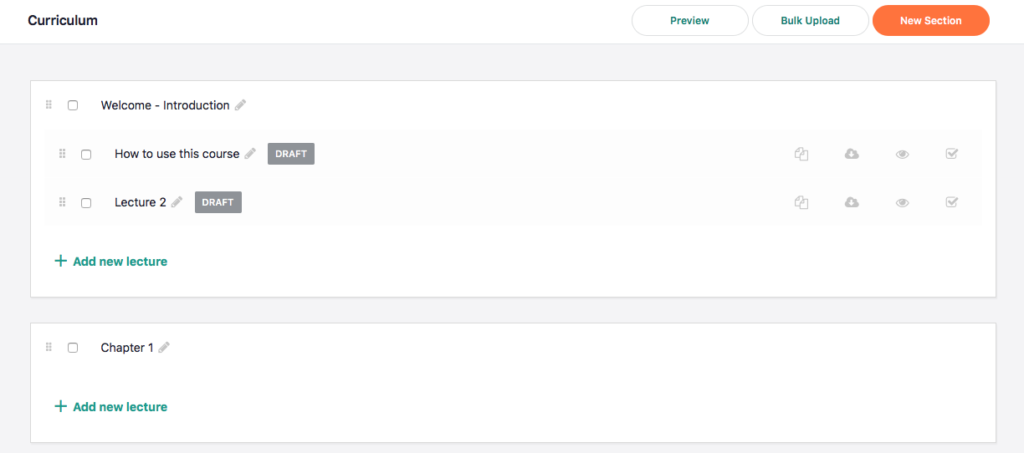
The first section that you see is the “Welcome section.” Sections in general are layouts or “main modules” under which you can put titles / lectures of chapters. You can place the actual course content in those lectures.
- Give the first section a name. (for example: “Welcome”)
- First create an outline in your Teachable account by giving titles in the curriculum for everything you are going to create. These are the titels where you will place videos and other content.
Click on ‘New section‘ to create a new chapter.
Click on ‘Add lecture‘ to create new subchapters.
Click on the pencil to change the titles.
Click on the title bar to enter the content in the various chapters.
Here you can upload content. Drag the content in the right order.
STEP 5: Give your course a price.
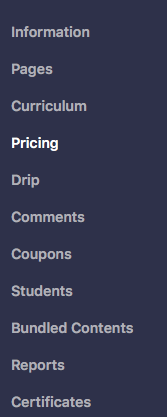
- Click on ‘Pricing’
- Click on ‘Add Pricing Plan‘ and ‘One- Time Purchase’ and fill in the price you want to ask for your course.
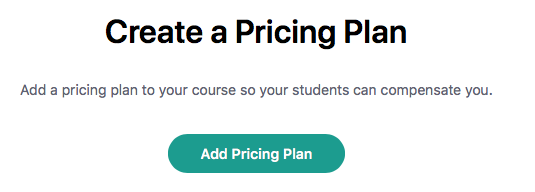
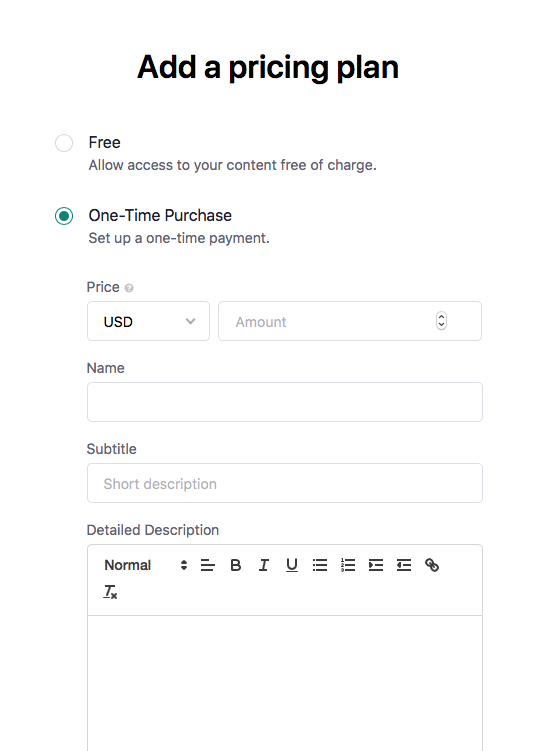
When you use One-Time Purchase, your client has to pay a one-time fee for your online course.
EXTRA: Don't forget these layouts
- You have the layout of your “school“.
- You have the layout of your course, being your curriculum.
- You have the layout of your sales page.
You don't have to make them entirely to Teachable standards. There just has to be a header and description because your students sometimes return to that page before they log in to their course.
- You have the layout of your thank you page.
First, focus on building your curriculum and “dropping” your videos and content. You can do the layout of the pages afterwards.
Your main task for the layout is the following: make sure that when someone sees your school, course or sales page as “logged out” or “logged in” user, it looks ok and not distracting.
Congrats!
When you have finished these steps, you can start selling your first online course! Did you finish the course, but you're not sure where to start building your online brand?
Especially for you, I have a course: “Start Your Online Brand“, where I explain how you should build your own online business step by step for only 80 dollars per month! Oh and by the way: This course is completely free!
Go to www.fastforwardamy.com/startyouronlinebrand and start the free online course so you can set up your online business in no time.


Leave a Reply